
How to migrate Virtual Machines from VMware to Enter Cloud Suite
Intro
This is the procedure to migrate virtual machines from a VMware based-infrastructure to EnterCloudSuite. You need to execute these steps on a Linux machine as it requires qemu emulator for conversion and Virt manager to test the image if the Operative System doesn’t automatically load KVM drivers.
Requirements
- Linux OS (in this guide i’ll be using Ubuntu 16.10 Desktop to convert the VM disks)
- qemu-utils
- virt-manager
Steps
- Before exporting the image, make sure the network settings of your VM are set to automatically get a dynamic address from DHCP and then install the cloudinit agent on the guest OS.
- on Ubuntu 16 install it with
apt install cloud-init - on Windows install the stable version of VirtIO drivers
virtio-win iso, installcloudbase-initand remove thesysprepflag during the installation, in order to avoid re-initializing your VM on the first boot
Now you can export your VM from VMware into.ovaformat.
- on Ubuntu 16 install it with
- Extract the contents of the
.ovafile, using the Linux command line:tar -xvf VMware-machine.ovaVMware-machine.ovfVMware-machine-disk1.vmdkVMware-machine.mf
- Convert your VMware machine to a KVM supported format with
qemu(qemu-imgis available from theqemu-utilsbinary package):qemu-img convert -O qcow2 VMware-machine-disk1.vmdk VMware-machine-disk1.qcow2 - NOTE WELL: This step is Mandatory for Windows based systems as they require VirtIO drivers to work on KVM hypervisor whereas on Linux systems you can avoid this testing/driver installation step.
On Linux systems you can avoid step 4 because drivers are already compatible for KVM.
If your guest OS is Windows, on your local machine test that your image is supported by KVM usingvirt-manager: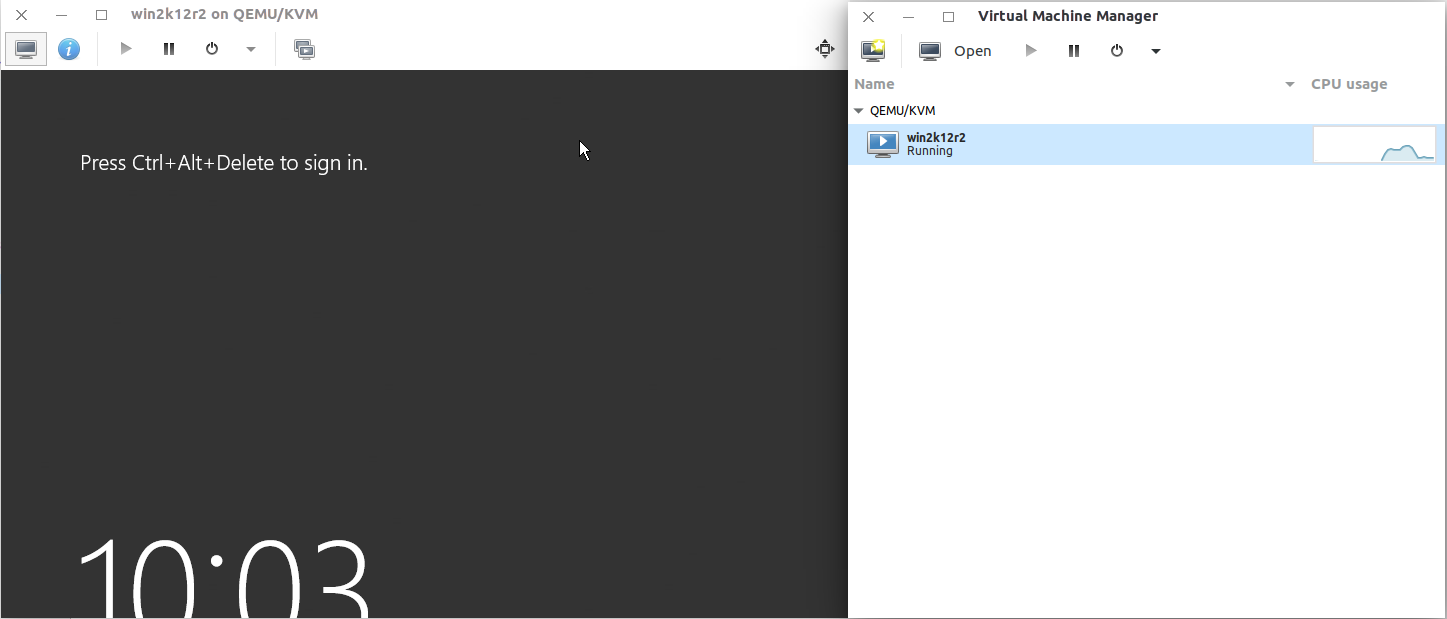
- Create a new virtual machine → import existing disk image → Browse and select your
.qcow2image - Set up the VM settings (RAM, CPU, network using default nat)
- After the VM completes the OS boot check if there are any issues with current drivers and, if so, proceed to VM settings → Add Hardware → Storage → Create a disk image for the virtual machine (create a small disk, for example 1GB). This step is required in order to have the
VirtIOdrivers enabled at boot - Select
Disk deviceand make sure thatBus typeis set onVirtIO - After you have attached the disk, check if the guest OS has detected it by using this command with admin privileges:
 diskpart
 list disk
If you can see both disks listed the driver is working properly and your main drive and the VirtIO one. Shutoff the VM, switch to VM settings →
IDE Disk 1→ Advanced Options and setDisk bustoVirtIo. Remove also the testVirtIOmini-disk you’ve created above. Try again and boot the machine: if it boots up the image is ready. You can now upload the image file (VMware-machine-disk1.qcow2) to Swift.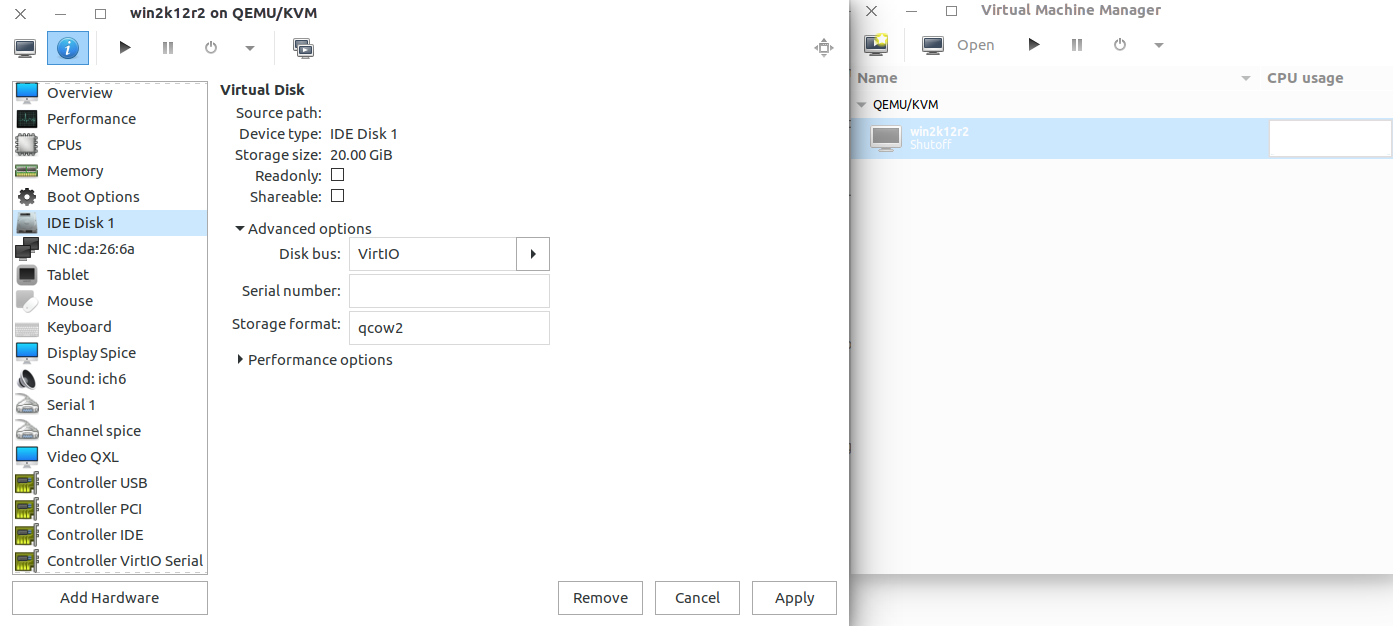
- Create a new virtual machine → import existing disk image → Browse and select your
- Authenticate to Openstack API and upload your image into your tenant’s private image repository:
export OS_IMAGE_API_VERSION=1 && glance image-create --file VMware-machine-disk1.qcow2 --disk-format qcow2 --container-format bare --name "Import from VMware" --progress - Now you can deploy your VM into our Openstack infrastructure by selecting your freshly uploaded template.
Upon the first boot you need to check that network configuration has been set properly.