
How to snapshot your instance
Instance snapshots are a simple way to create a full copy of your instance for disaster recovery purposes. Since snapshots rely upon the Openstack Object Storage (Swift), instance copies are moved to the ECS object storage cluster.
Once an user triggers an instance snapshot, the instance is stored both locally and in two more remote datacenters, being immediately available for restore in any region. Thanks to Enter Cloud Suite architecture, the object storage cluster spans ober three autonomous regions in three different EU countries (Italy, Germany, Netherlands), and allows to seamlessly replicate data geographically.
Should you have any compliance or regulation driven country boundary limitation, you can still avoid this replication by adopting volume-backed instances (“Diskless flavors” or “boot from volume”), a specific type of instances that store the image file and snapshots in a block storage volume, therefore locally to the current region.
SINGLE SNAPSHOT - QUICKSTART
-
Log into the Enter Cloud Suite Dashboard.
-
Click on Computing > Instances on the left menu.
-
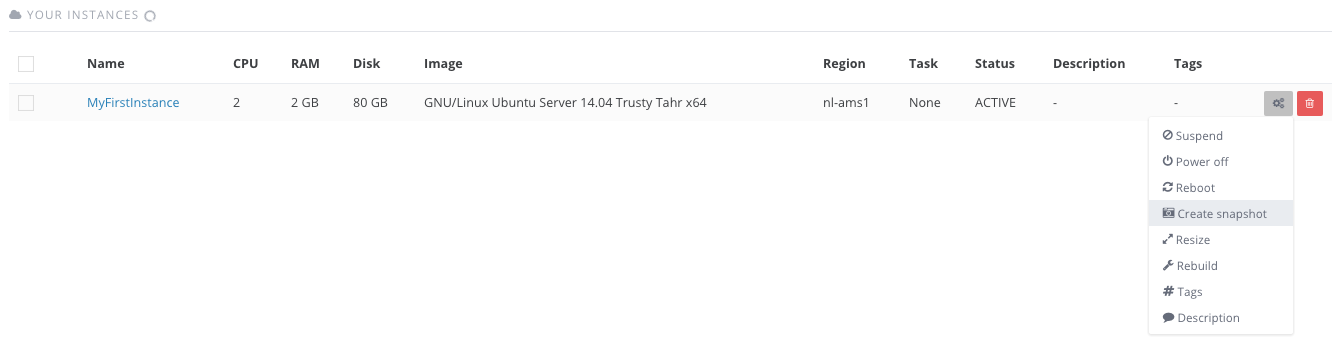
Find the instance you want to take a snapshot of and click on the grey icon on the right.
-
From the dropdown menu, choose Create Snapshot.
-
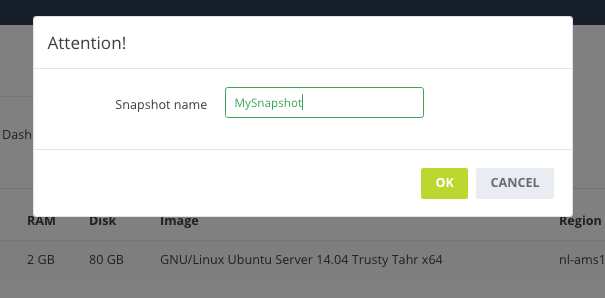
Enter the name you want give to your snapshot in the pop-up text box.
-
Click on OK and the snapshot creation job will be queued.
-
To check your existing snapshots, click on the Computing > Snapshots menu on the left.

ALTERNATIVE PATHS
Instance Detail Menu
-
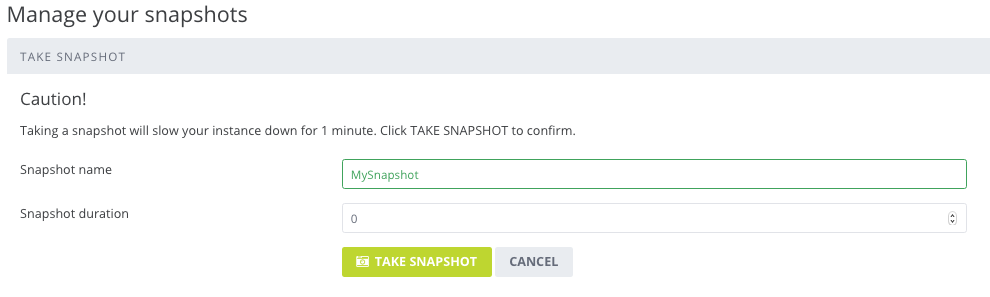
You can access the snapshot function also from your instance details: select Computing > Instances > [click on your instance name] > Snapshots ** and click on the green **Take button.

-
Define your snapshot name and choose the snapshot retention time, in days. Note: In the duration field 0 means the retention for this snapshot will be infinite, 1 means that the snapshot will be deleted exactly 24 hours and 0 minutes after it has been completed.
Snapshot Summary Menu
-
You can access the snapshotting function also from your Snapshots page: select Computing > Snapshots and click on the green Take Snapshot button on top right.
-
Insert your snapshot name, select the instance you want to snapshot and define the snapshot retention.