
How to launch your first instance
-
Log into the Enter Cloud Suite Dashboard.
-
Click on Computing > Instances on the left menu.
-
Click on Launch instance on top right of the screen.
-
Choose a name for the instance you will launch.

-
Select the region you want your instance to be created into (IT-MIL1, DE-FRA1 or NL-AMS1).

-
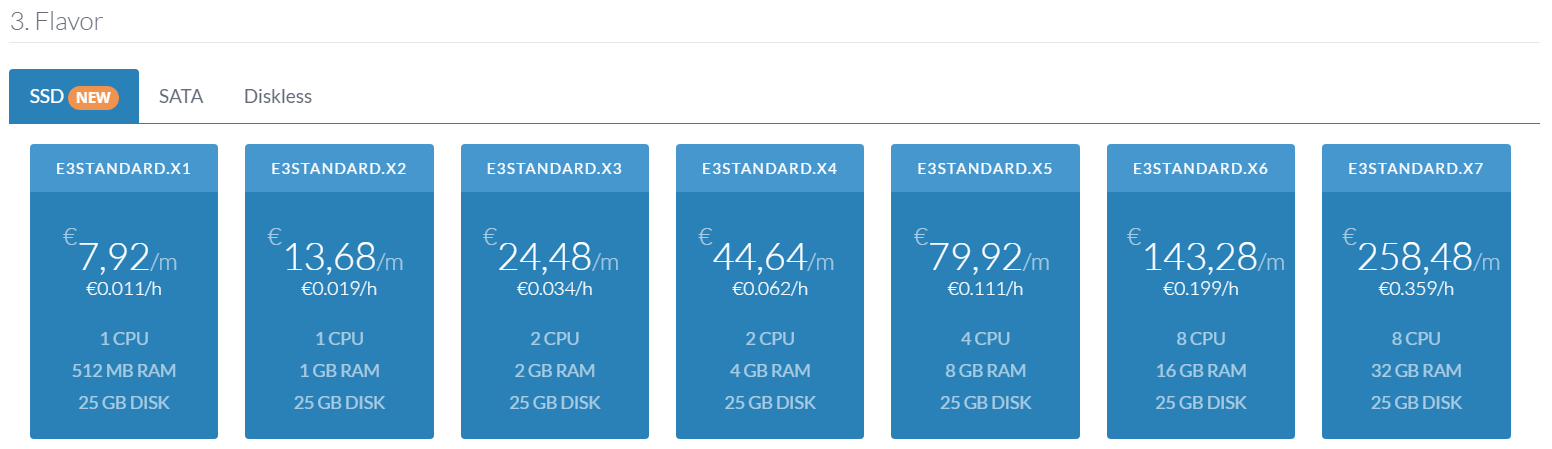
Pick a flavor to define the virtual hardware specifications (CPU, RAM and HD) of your instance. Using the tabs you can choose different type of categories (SSD, SATA, Diskless).
-
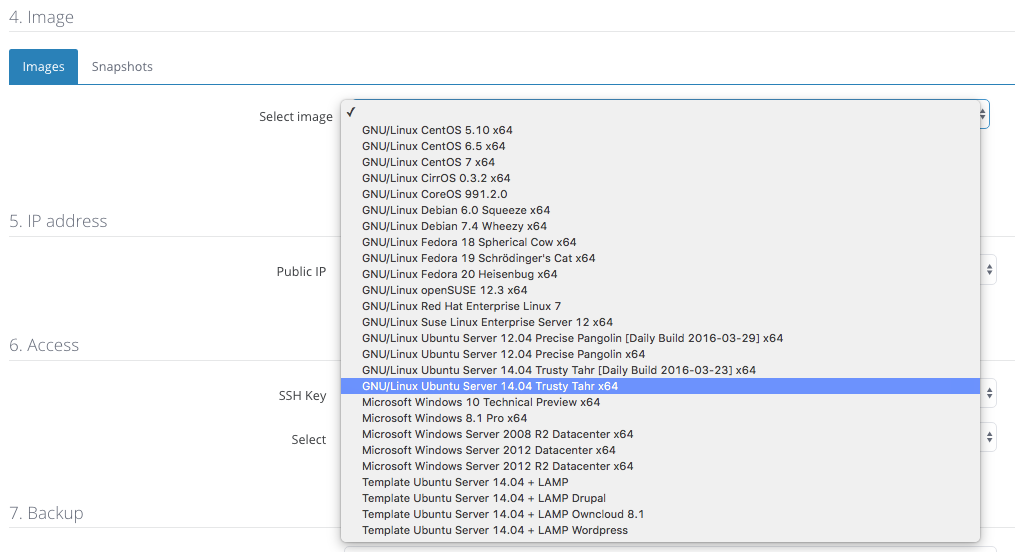
Select the image you want your instance to be booted from: this is the software template you are going to use on it. It could be a standard template provided by Enter (e.g. Ubuntu Linux or Windows 2012), a snapshot previously taken from an existing instance or an image uploaded by yourself.
-
Define if the instance shall be provisioned with a public IP or with a private IP for LAN use only. Note: if you didn’t provision a router or a network (LAN or subnet) inside your tenant, ECS will configure it for you. If you have already created a single network with a single LAN, the system will pick the existing one automatically, and if there is more than one network you will be prompted to choose the one you want.

-
Choose the public SSH key you are going to use to administer your instance: import one from your computer, create a new keypair or select an existing one. Should you choose to create a new keypair, you will be prompted to download the private key once you click on “Launch instance”.

-
Schedule automated backups for your instance: this feature allows you to plan periodic snapshots.

That’s it!
You’re ready to go on, so click “Launch Instance”. It will take around 10 seconds before your instance will be available for logon (Windows instances take a bit longer).
