
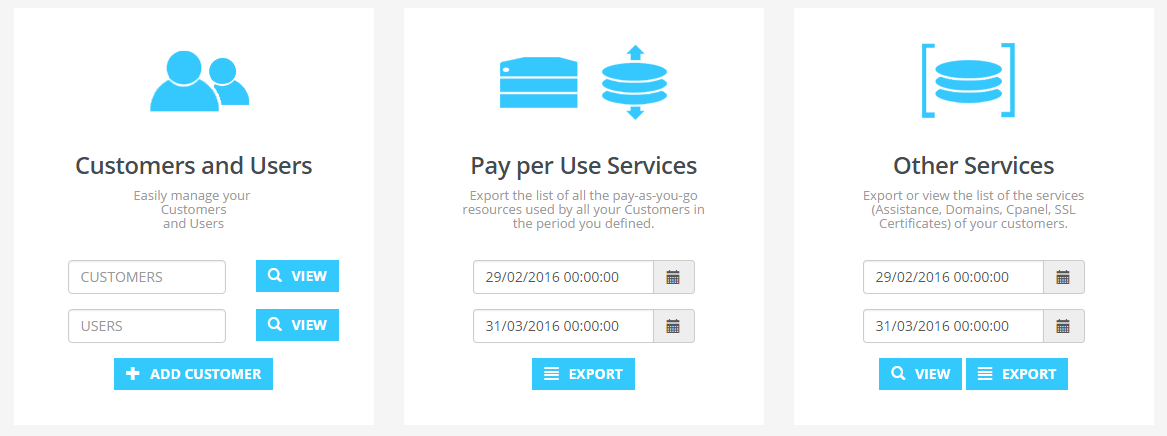
How to create and manage users
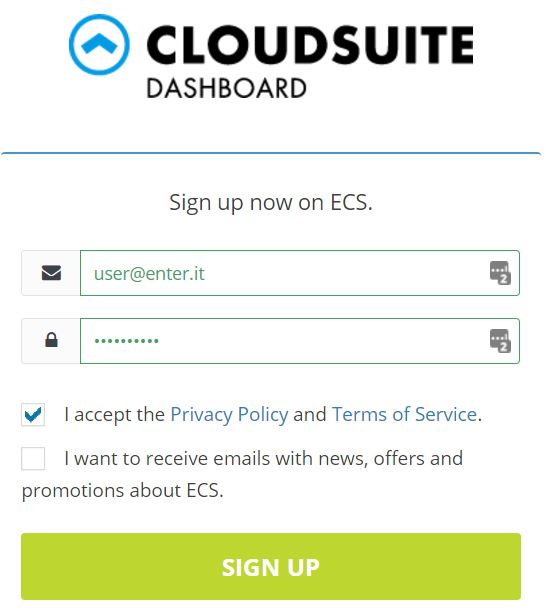
- Log into the Enter Cloud Suite Dashboard.
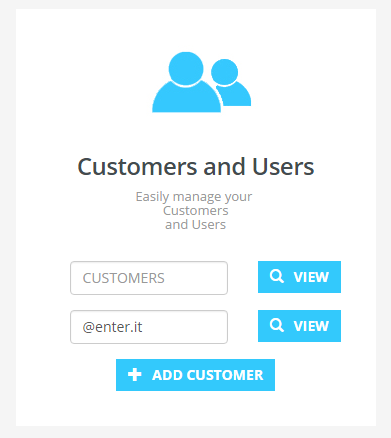
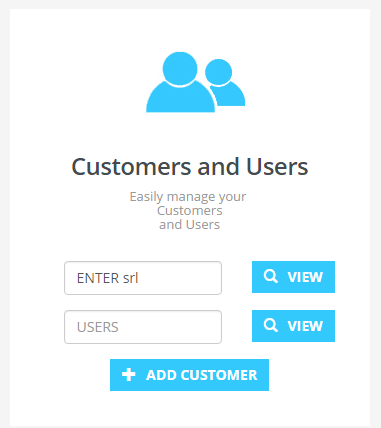
SEARCH AND BROWSE USERS
-
Insert the name or email of a customer user in the field USERS, in the left box
-
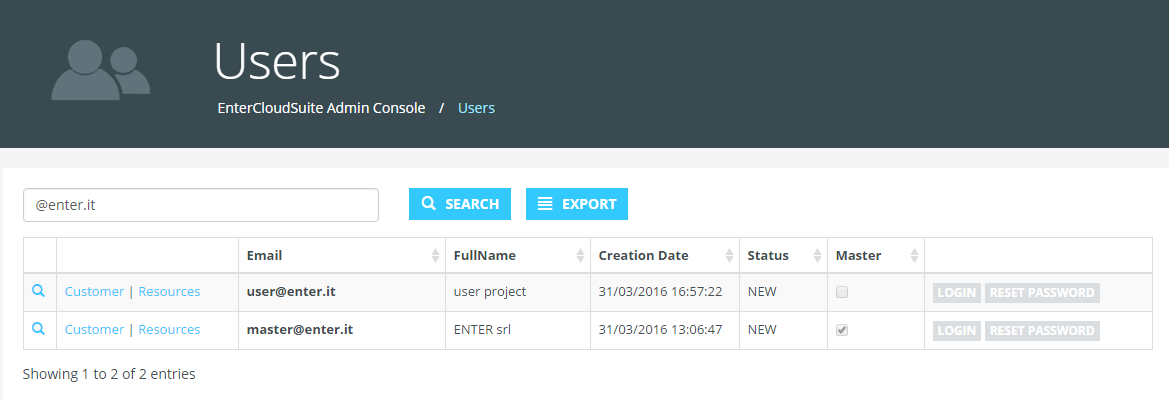
Click on View button to search the user
-
Click on the name of a user listed to go to his details page
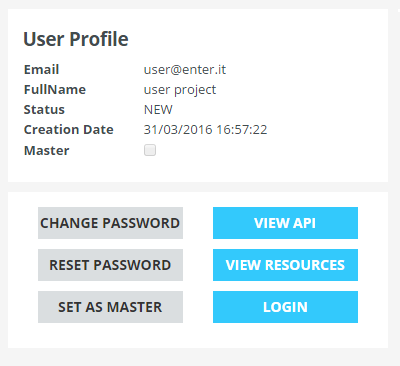
VIEW AND MANAGE USERS
-
Search an user and open his detail page as seen in the previous steps
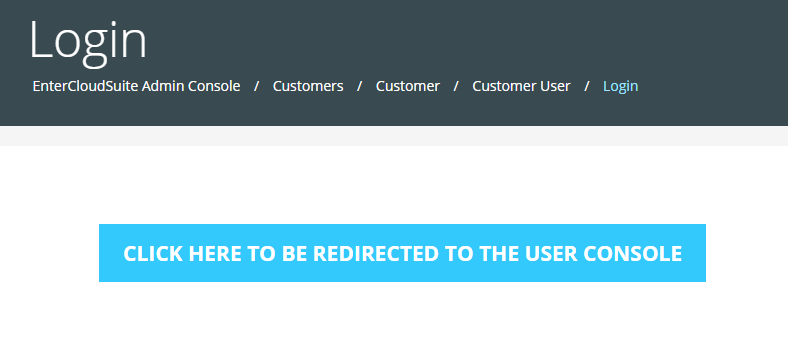
- If you want to login in user Enter Cloud Suite Dashboard:
- Click on Login button
- Click on the button to open the user Dashboard in a new window
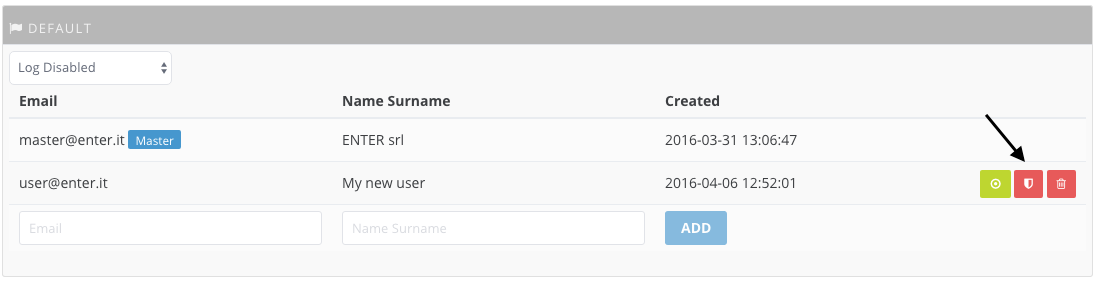
- If you want to force the change of the user password
- Click on Change password button
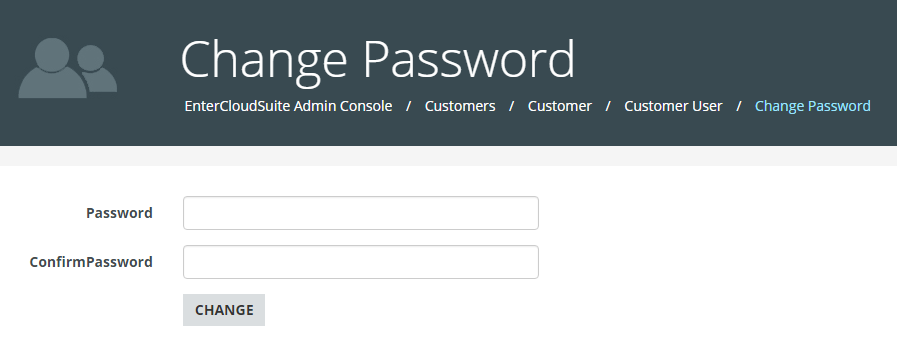
- In Password and Confirm Password, type the new password
- Click Change button to apply the new password
- Click on Change password button
- If you want to set the user as a Master (the master can access all the Dashboard features such as Reports and Projects/Users management):
- Click on Set as master button
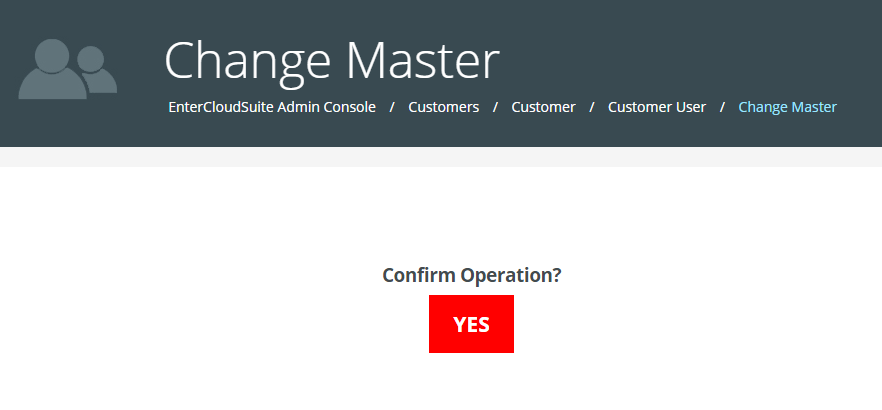
- Click on Yes button just to confirm the operation.
- Click on Set as master button
-
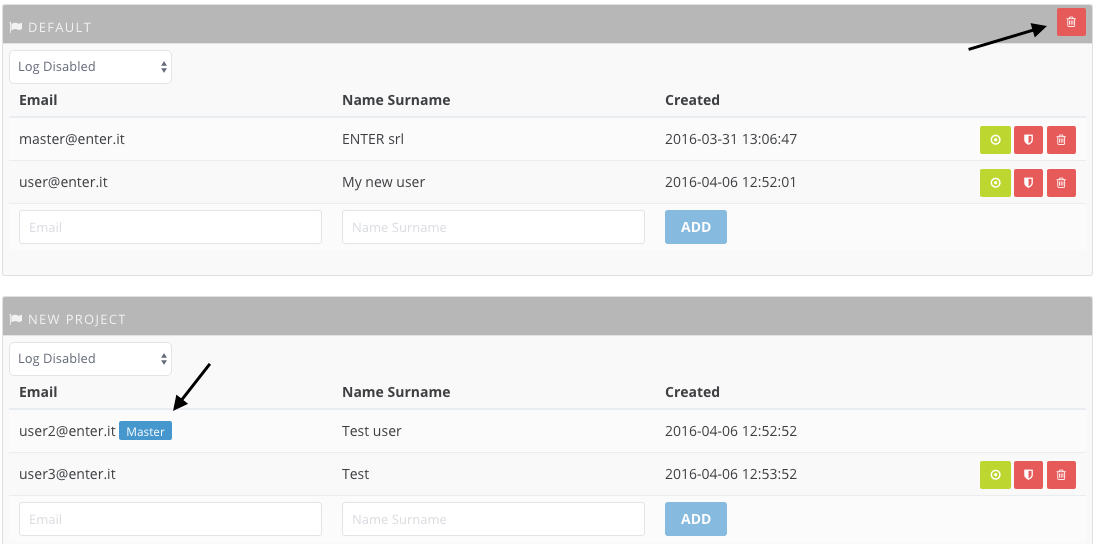
If you want to delete a project click on Login button next to master user. Note that only master user can delete projects inside dashboard
 Click on the Delete button on the right of the project.
 Note that the project that contains the master user cannot be deleted. If you need to delete that project you have to give before the master property to another user in a different project (either in the admin console as described in the steps before or in the dashboard clicking on the “Change master user” button).
- If you want to delete a User click on Login button next to master user. Note that only master user can delete users inside dashboard
Click on the Delete button on the right of the user.
 Note that the master user cannot be deleted. If you need to delete the master user you have to give before the “master property” to another user (either in the admin console as described in the steps before or in the dashboard clicking on the “Change master user” button).
CREATE USERS AND PROJECTS
-
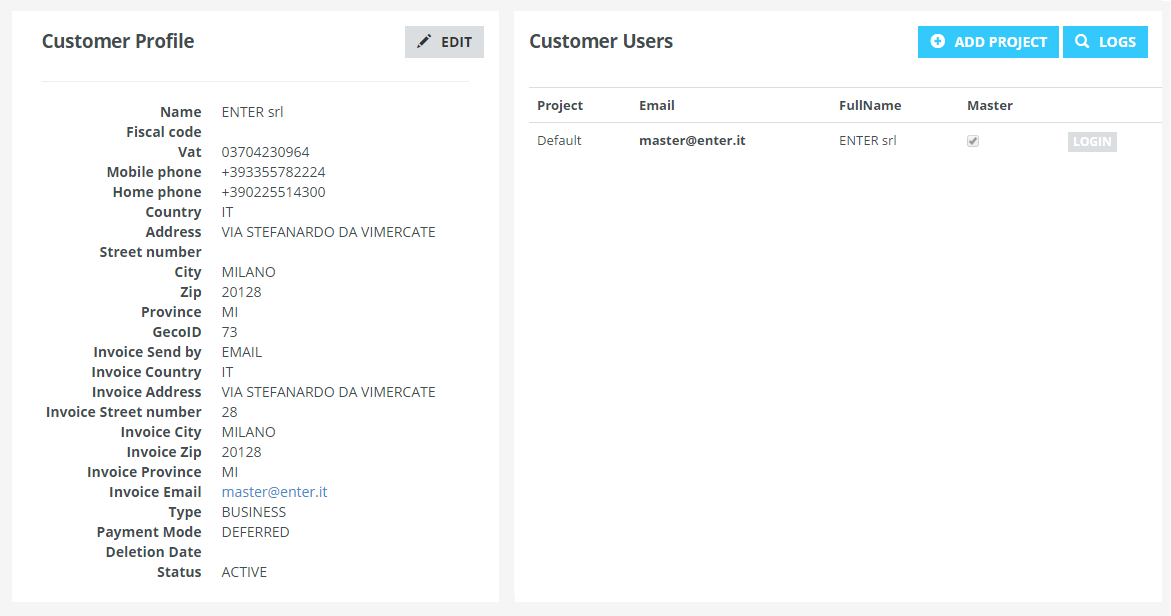
Search a customer and open his detail page inserting the name of a customer in the field Customers, in the left box
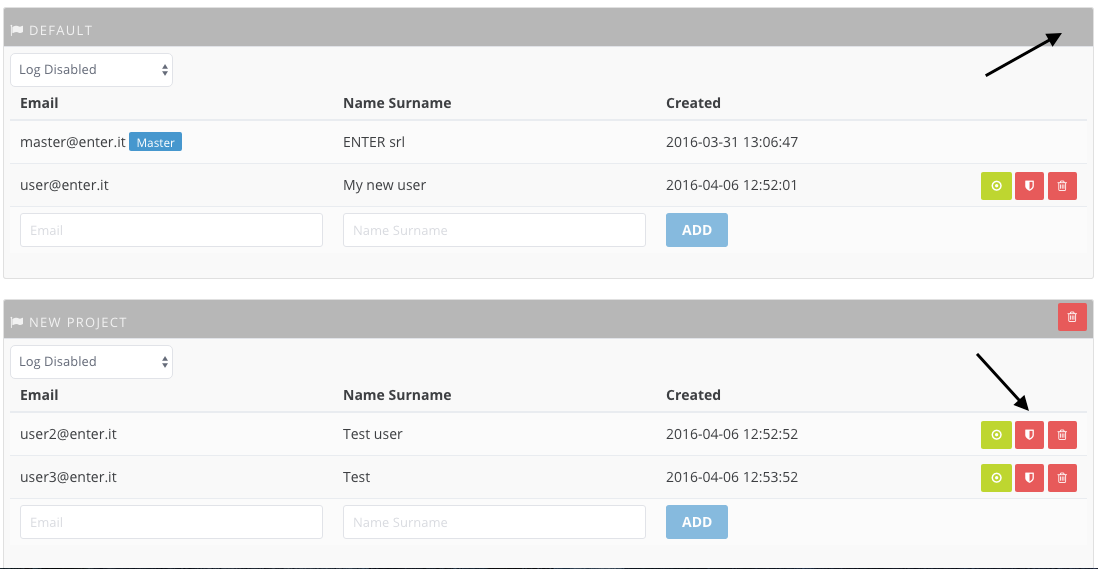
- If you want to create a new project
- Click on the Add Project button, in the top right
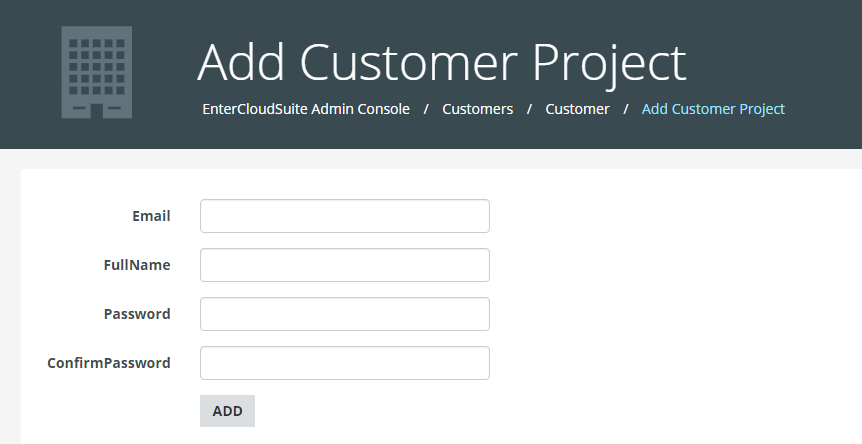
- After the creation of the project a new user would be associated to it.
- Insert the email of the user and the name for both, the user and the project
- In Password and Confirm Password, type the password for the new user
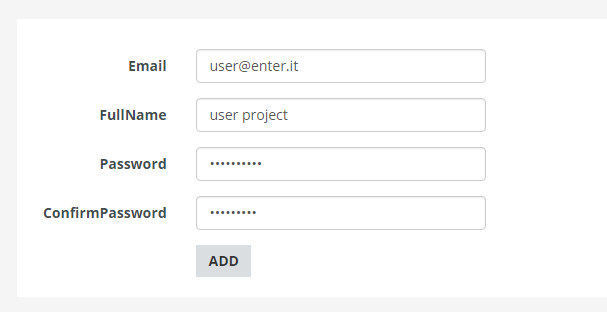
- Click on Add button to confirm the creation of the project
- Then the new user just created has to go to the Enter Cloud Suite Dashboard and click on Forget password
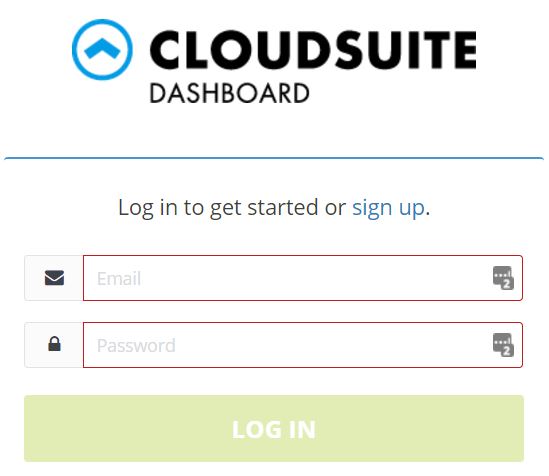
- Insert user’s email in edit box and then click Reset password
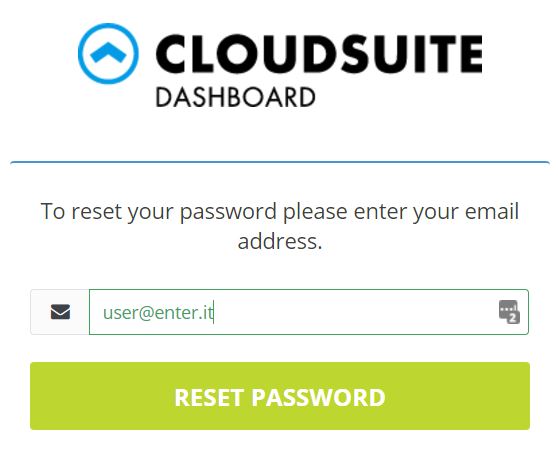
- The user will receive an email with a link to follow where he could set his password. The link will expire after 5 days and after that time the user need to restart the flow again and click Forget password again. Note that the Forget password doesn’t invalidate current user password which will be changed only after the completion of all steps.

- After he set his new password the user can log in inside the dashboard
- Click on the Add Project button, in the top right
-
If you want to add another user in a new project just follow same steps above
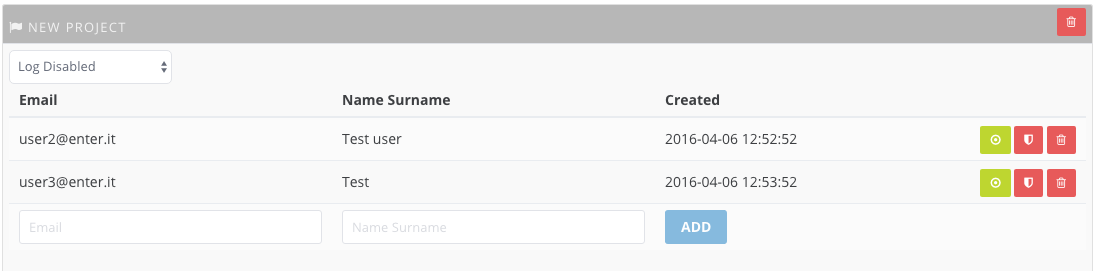
- If you want to add a new user inside an existing project
- Click on Login button next to master user. Note that only master user can add users and projects inside dashboard
- Click on the button to open the user Dashboard in a new window
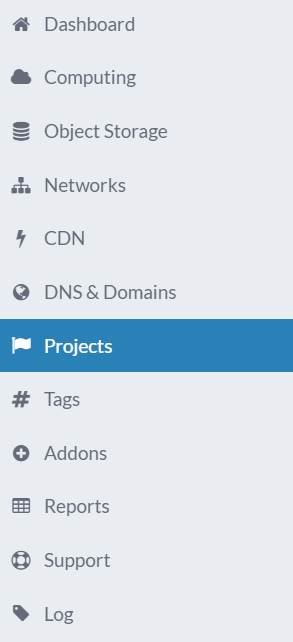
- Click on Projects on the left menu
- Choose a project in which you want to add a new user and fill the required boxes such as Email and Name and Surname and then click on Add button

- An email is sent to the new user email address asking him to reset his password as seen in the previous steps
- Click on Login button next to master user. Note that only master user can add users and projects inside dashboard