How to use the CDN
-
Log into the Enter Cloud Suite Dashboard.
-
In the Dashboard, click on CDN in the left menu.
-
Once the page loads, click on the Add Site button on the top right.

-
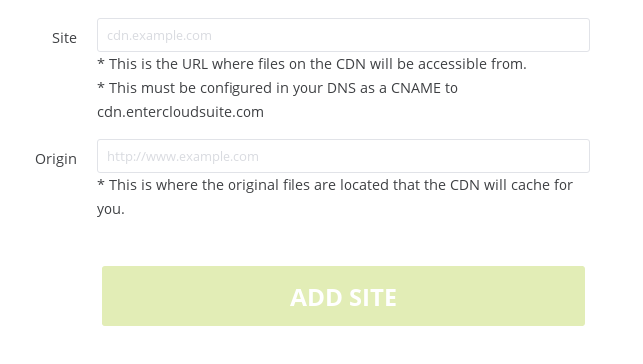
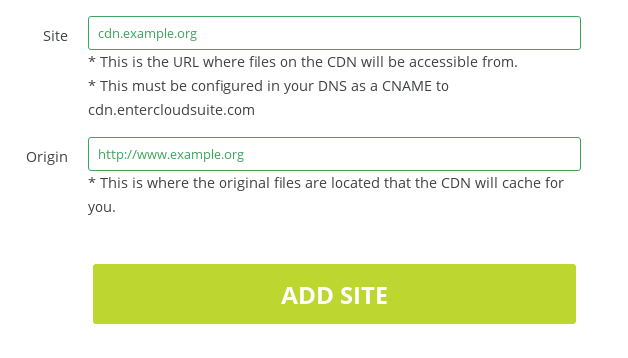
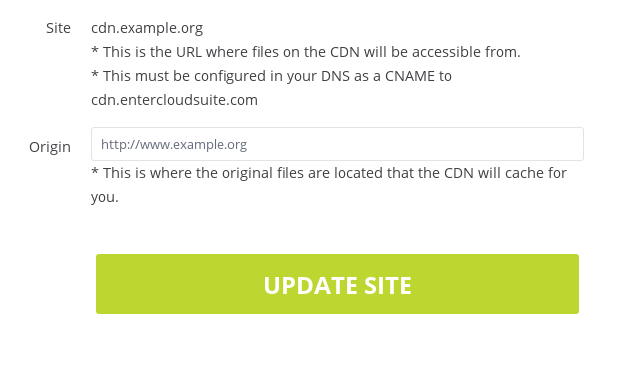
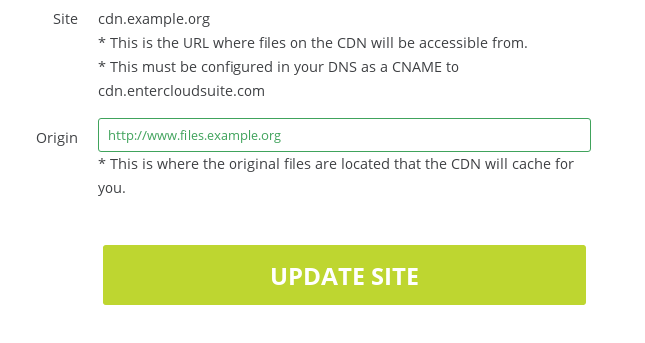
You now have to fill the form in order to create a new CDN “site”: in Site, you have to configure the URL you will use to distribute your static files trough the CDN. In Origin, you must set the existing source for your files, the one the CDN will fetch objects from:
-
Let’s suppose that you want to serve via the CDN static objects hosted on www.entercloudsuite.com: by setting “www.entercloudsuite.com” as “Site” and “static.entercloudsuite.com” as “Origin”, when you will request a file (ie: http://cdn.entercloudsuite.com/logo.png) the CDN will take care of fetching it from the origin, will store the object on its nodes and serve it to you via the nearest node. On subsequent requests, until cache expiry, the origin won’t be queried anymore before serving that given file.
-
Once the site is created, you should see the entry in the CDN section of the Dashboard.

-
If you want to modify the origin of the CDN Site, you can click the blue button with a white pencil.
-
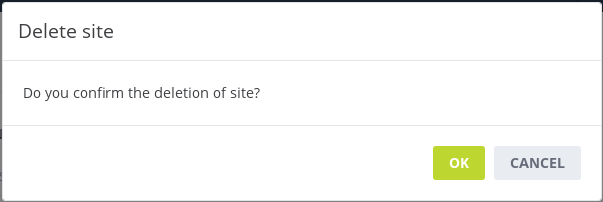
If you want to delete the CDN configuration, click on the red button: a confirmation popup will appear once done.