
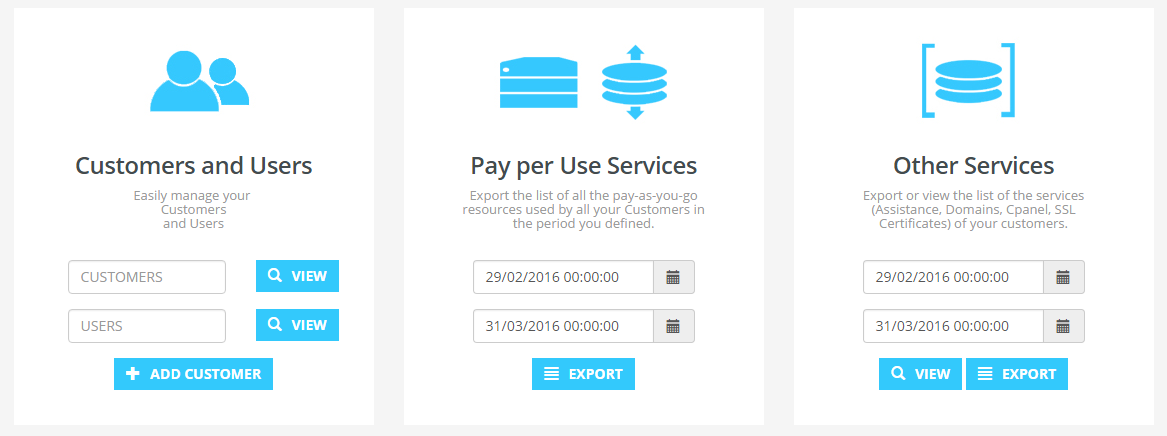
How to change customer resource quotas
-
Log into the Enter Cloud Suite Admin Portal.
-
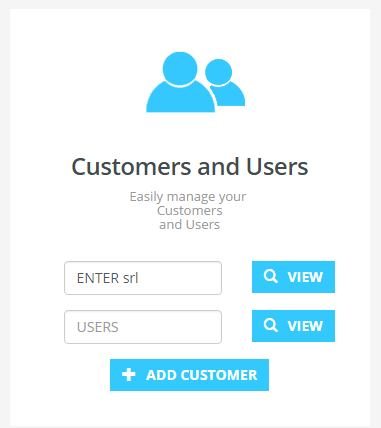
Insert the name of a customer in the field Customers, in the left box
-
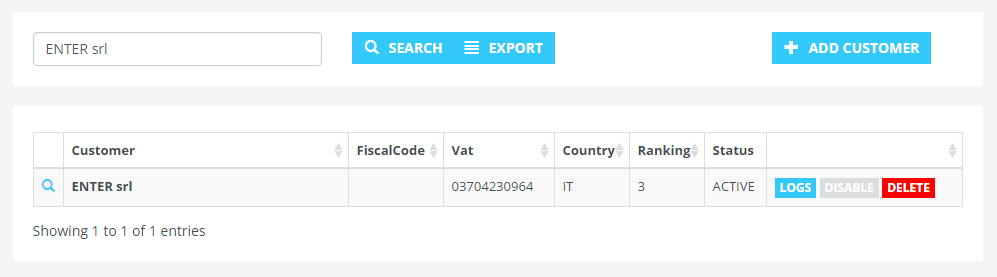
Click on View button to search the customer
-
Click on the name of the customer to open the detail page
-
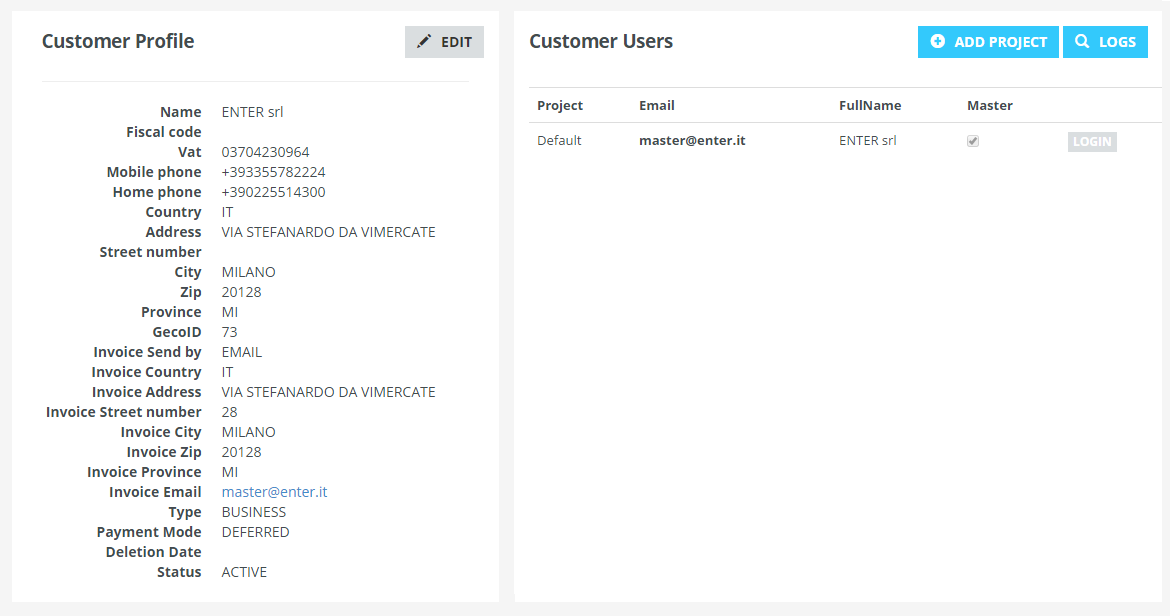
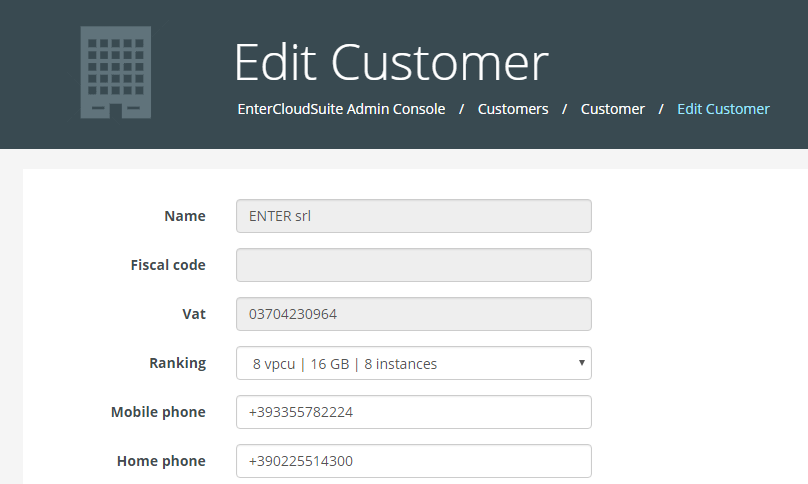
Click on the Edit button, in Customer Profile section
-
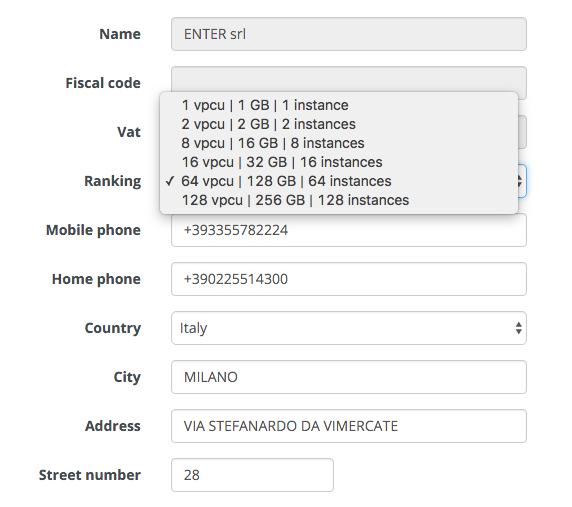
Change customer resource quotas choosing the desired ranking level. There are 6 ranking level corresponding to 6 different presets of quotas: 1 –> 1 vpcu; 1 GB; 1 instance 2 –> 2 vpcu; 2 GB; 2 instances 3 –> 8 vpcu; 16 GB; 8 instances 4 –> 16 vpcu; 32 GB ; 16 instances 5 –> 64 vcpu ; 128 GB; 64 instances 6 –> 128 vcpu, 256 GB; 128 instances
-
Click on Save to confirm updates
-
The quota is set concurrently for all regions and for all tenants of that customer, except for those that already exceed the new quota value.
-
Please note that if you are trying to downgrade quota and there are resources in one or more region that exceed the new quota you are trying to set, this will fail in those regions. It’s up to the administrator to remove resources that exceed the quota he wants to set.